How to create a Bitfinex API Key
Roughly 3 minutes. Open Bitfinex in another tab and follow along.
Sign in to Bitfinex
Open bitfinex.com in your browser. We recommend enabling 2FA (Settings → Security → Two-Factor Auth) — unrelated to our service, but basic hygiene for your Bitfinex account.
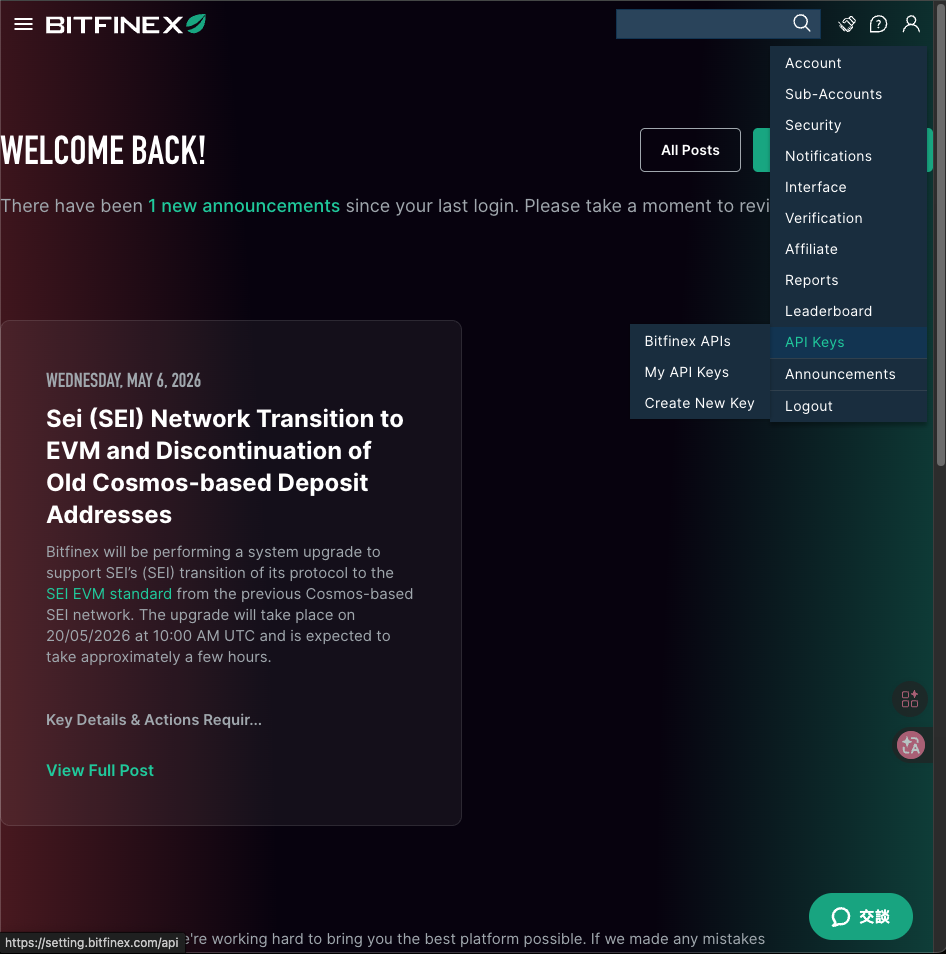
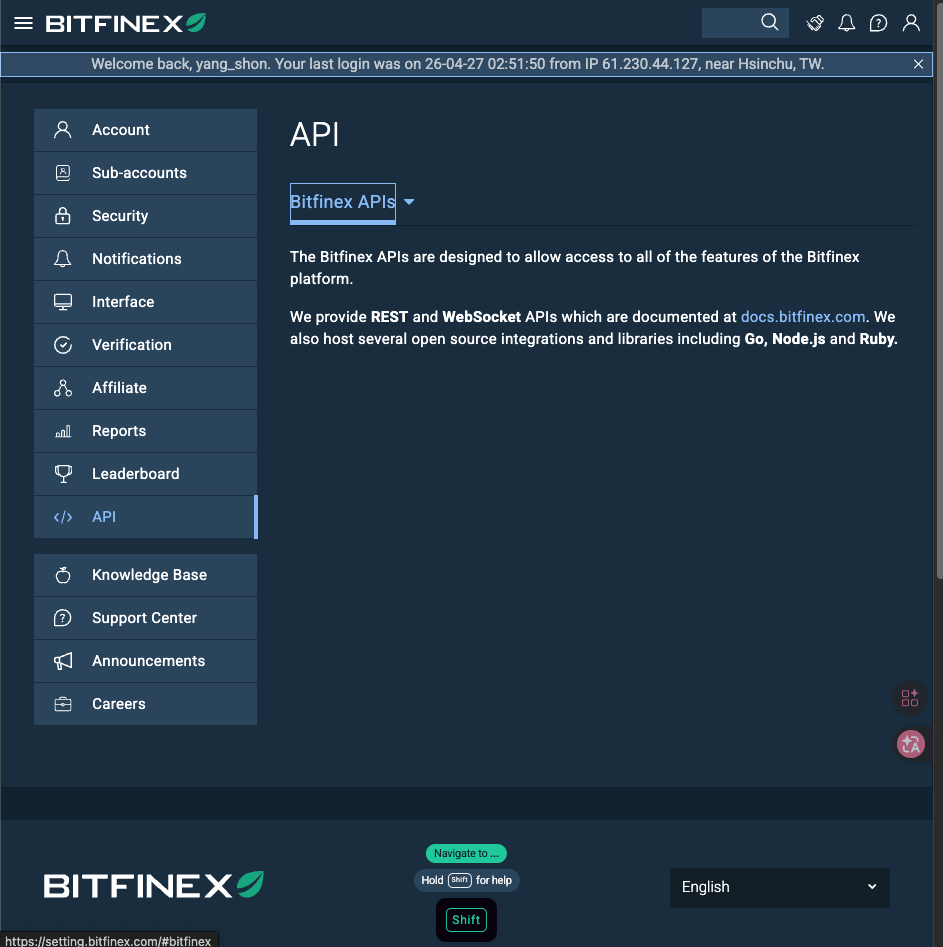
Open the API key creation page
Click the button below — if you're already logged in, Bitfinex opens the 'Create new key' form directly. Manual route: top-right avatar → API → Create new key.
Open Bitfinex 'Create API Key' ↗
Name and permissions
Name: pick something memorable, e.g. Yieldsforge.
Permissions: you only need to actively enable the one below. Withdraw must stay OFF.
Bitfinex enables all read-style permissions (Get funding info, Get wallet balances, etc.) by default — leave them on. The only toggle you need to flip is 'Offer, cancel and close funding', the row highlighted in red in the screenshot.
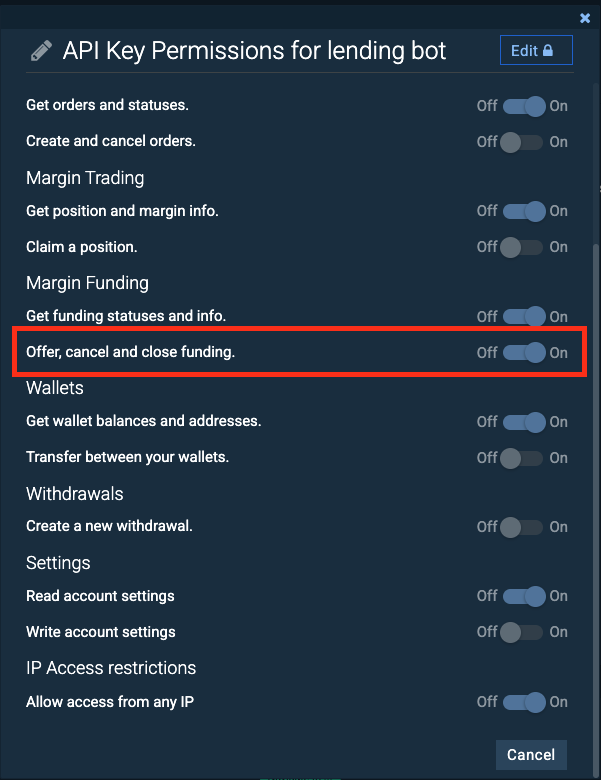
Withdrawals (Create a new withdrawal) must stay OFF. We reject any API key that has withdraw permission during verification.
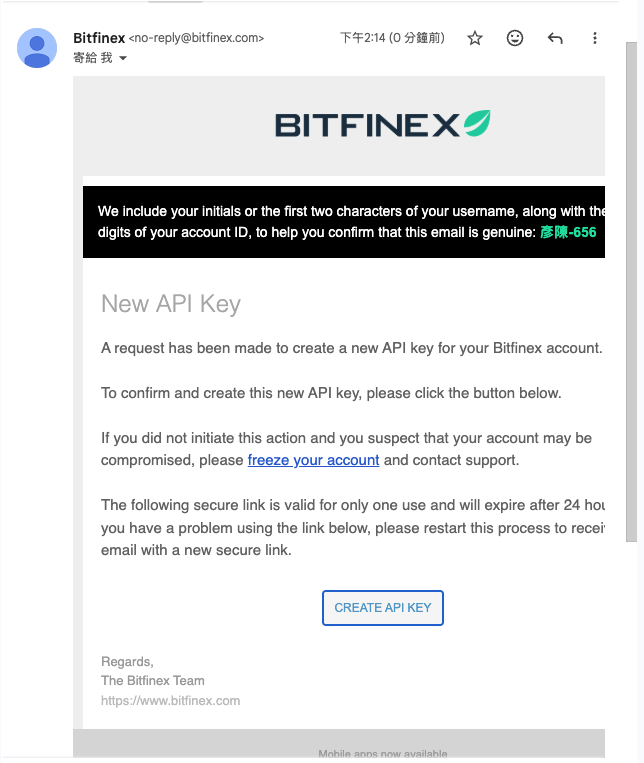
Generate the key
Click Generate API Key. Bitfinex will email you a confirmation link — click it to actually create the key.
Copy the API Key and Secret
Bitfinex shows the API Secret only once. If you close the page you'll need to regenerate. Suggested flow:

- Copy both strings to a temporary notepad
- Paste them into our Settings page → we verify and encrypt
- Permanently delete the notepad copy (don't save it to cloud notes, don't share it)
Move funds to your Funding wallet
Move the USDT / USD you want to lend from your trading wallet (Exchange) to your Funding wallet. Only Funding wallet balances get lent out.
Recommendation: start with 500-2000 USDT to test, scale up after you see it working. Minimum offer on Bitfinex is 150 USDT.
Done with the steps above?
Paste the API Key and Secret into Settings — we'll verify permissions automatically. If you signed up through our refcode, upload a screenshot of your Bitfinex account in Settings; once we approve it, we issue a coupon for 30 USDT / year forever + members-area access.
Go to Settings, paste the keyFAQ
Why my own key, not a platform key?
Because we don't want to touch anyone's principal. Your USDT stays in your Bitfinex account, interest accrues there. We only call APIs you've authorized, executing the strategy.
What if my key leaks?
Since the key has no Withdraw permission, an attacker can't move funds out. Worst case: they could place weird funding offers using your key. The moment you spot anything off, Revoke the key in Bitfinex's UI — zero capital loss.
How much should I keep here, can I pull it back?
Already-lent credits are locked until maturity (2 / 7 / 30 / 120 days) — Bitfinex doesn't allow early cancellation. Recommendation: only deposit funds you won't need within 4 months. Idle balance and pending offers can be withdrawn anytime.
Can I stop the service anytime?
Yes. Two ways: (1) Delete your account in our Settings page, or (2) Revoke the key in Bitfinex. Already-lent credits will mature naturally and return principal+interest to your Bitfinex account.